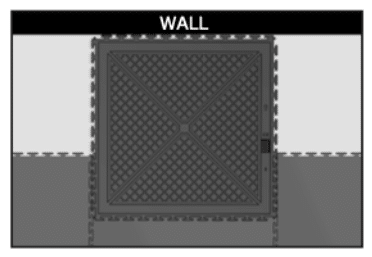
Tiles can expand and contract in response to temperature changes.
Areas exposed to heat sources may cause tiles to lift when they expand.
Glue the tiles in these areas using an adhesive, following the manufacturer’s guidelines.
OUTDOOR USAGE
The Gritlock tiles is not designed for outdoor applications.
HEAVY TRUCKS AND TIGHT TURNING CIRCLES
Certain vehicle designs can pose challenges for Gritlock tiles, such as heavy trucks with small wheels or electric trucks with a battery positioned above the drive wheel.
We recommend testing the tiles with these specific vehicles before determining the appropriate thickness to use.
Additionally, it is advisable to contemplate using an adhesive for installation.
SURFACE/WITNESS MARKS
Manufacturing may result in a visible witness mark on the tile at theinjection moulding point and around the tile’s edge.
Prior to installation, inspect the tiles for any markings.
If any marks are deemed unacceptable, refrain from installation, asresponsibility for replacement or refund will not be accepted afterinstalling 10m² or more.
STAINING FROM VEHICLE TYRES
Rubber tyres and wheels may cause staining on Gritlock tiles due to achemical reaction between rubber antioxidant and vinyl plasticiser.
Darker tiles like black & graphite can reduce stain visibility, andapplying an anti-colour sealer is advisable.
TOOLS
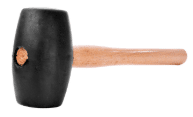
Rubber Mallett
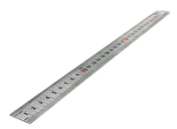
Metal 1m Ruler
Stanley Blade
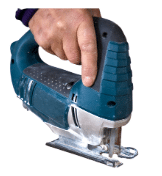
Jigsaw (Medium Blade)
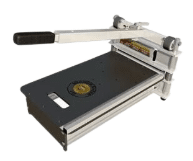
Guillotine
PREPARATION
TAKE NOTE
Allow tiles to acclimatise in the room for 24 hours.
The minimum installation temperature is 15ºC. If installation needs to proceed at a temperature below 15ºC, ensure the tiles adjust to the room’s ambient temperature and leave a larger expansion gap (greater than the advised 5mm) between the tiles and any fixed structures.
Please be aware that our warranty terms cannot be honored for installations carried out at temperatures outside the recommended range of 15ºC to 30ºC.
STEP 1
Sweep or vacuum the floor to clear any loose debris. Address any high spots on the floor and fill holes using a suitable floor repair material.
STEP 2
Divide the pallet into multiple stacks and distribute them across the space. This will expedite acclimatisation and make them more accessible during installation.
GET STARTED
STEP 1
Ensure that tiles remain square during installation. Each room will have a unique starting point. If possible, locate a straight wall or edge as a reference. Use a straight chalk or laser line and snap it 1-1.5m away from the wall.
STEP 2
Start by aligning the tiles together to form a single row of Gritlock tile next to the straight line. Pay close attention to the row’s placement along the line, taking into account the cuts that need to be made on both sides.
STEP 3
Add two additional rows and rearrange the tiles, making sure they are aligned as straight as can be and flush with the chalk or laser line.
STEP 4
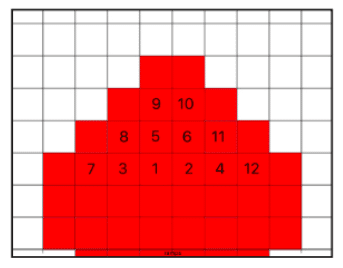
Add tiles progressively to create a pyramid structure, referring to the numbering system provided.
STEP 4
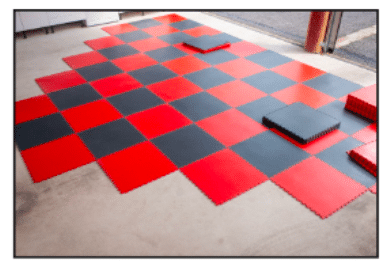
Keep constructing the pyramid by adding a full-size tile to the end of each row until the entire room is covered. When you run out of space for full-sized tiles, follow our cutting instructions below to customize the remaining tiles to fit perfectly.
CUTTING INSTRUCTIONS
STEP 1
To make a cut, flip a tile over and position it on an already installed tile. Press it against the wall or object.
STEP 2
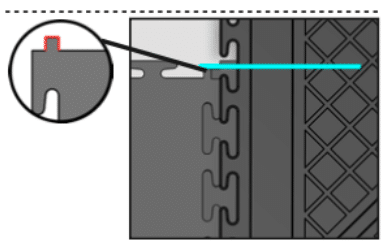
Each tile features a small square marker in every corner. Utilise the edge of this marker as a reference point to draw a line on the tile you are cutting with a pen. Repeat this process on both sides.
STEP 3
Connect the two marks with a metal ruler to establish a cutting line. Use your preferred method to cut the tile. Once the tile is flipped, it should align, leaving a 5mm space between the tile edge and the wall.
See our visual illustrations below.
INDENTATIONS
You might observe slight indentations on our floor tiles when heavy objects are placed on a concentrated area.
These tiles are intended to allow some flexibility when exposed to significant point loads to avoid any risk of breakage or snapping under pressure.
The tiles will revert to their original shape once the weight is lifted, so there is no need to worry about this.
In colder temperatures, the reforming process might take longer, but you can accelerate it by using a hot air gun or by placing a damp cloth over the tile and ironing the cloth.
PROTECTION
All hard or resilient flooring is susceptible to scratches and stains. We recommend using an approved sealer.